

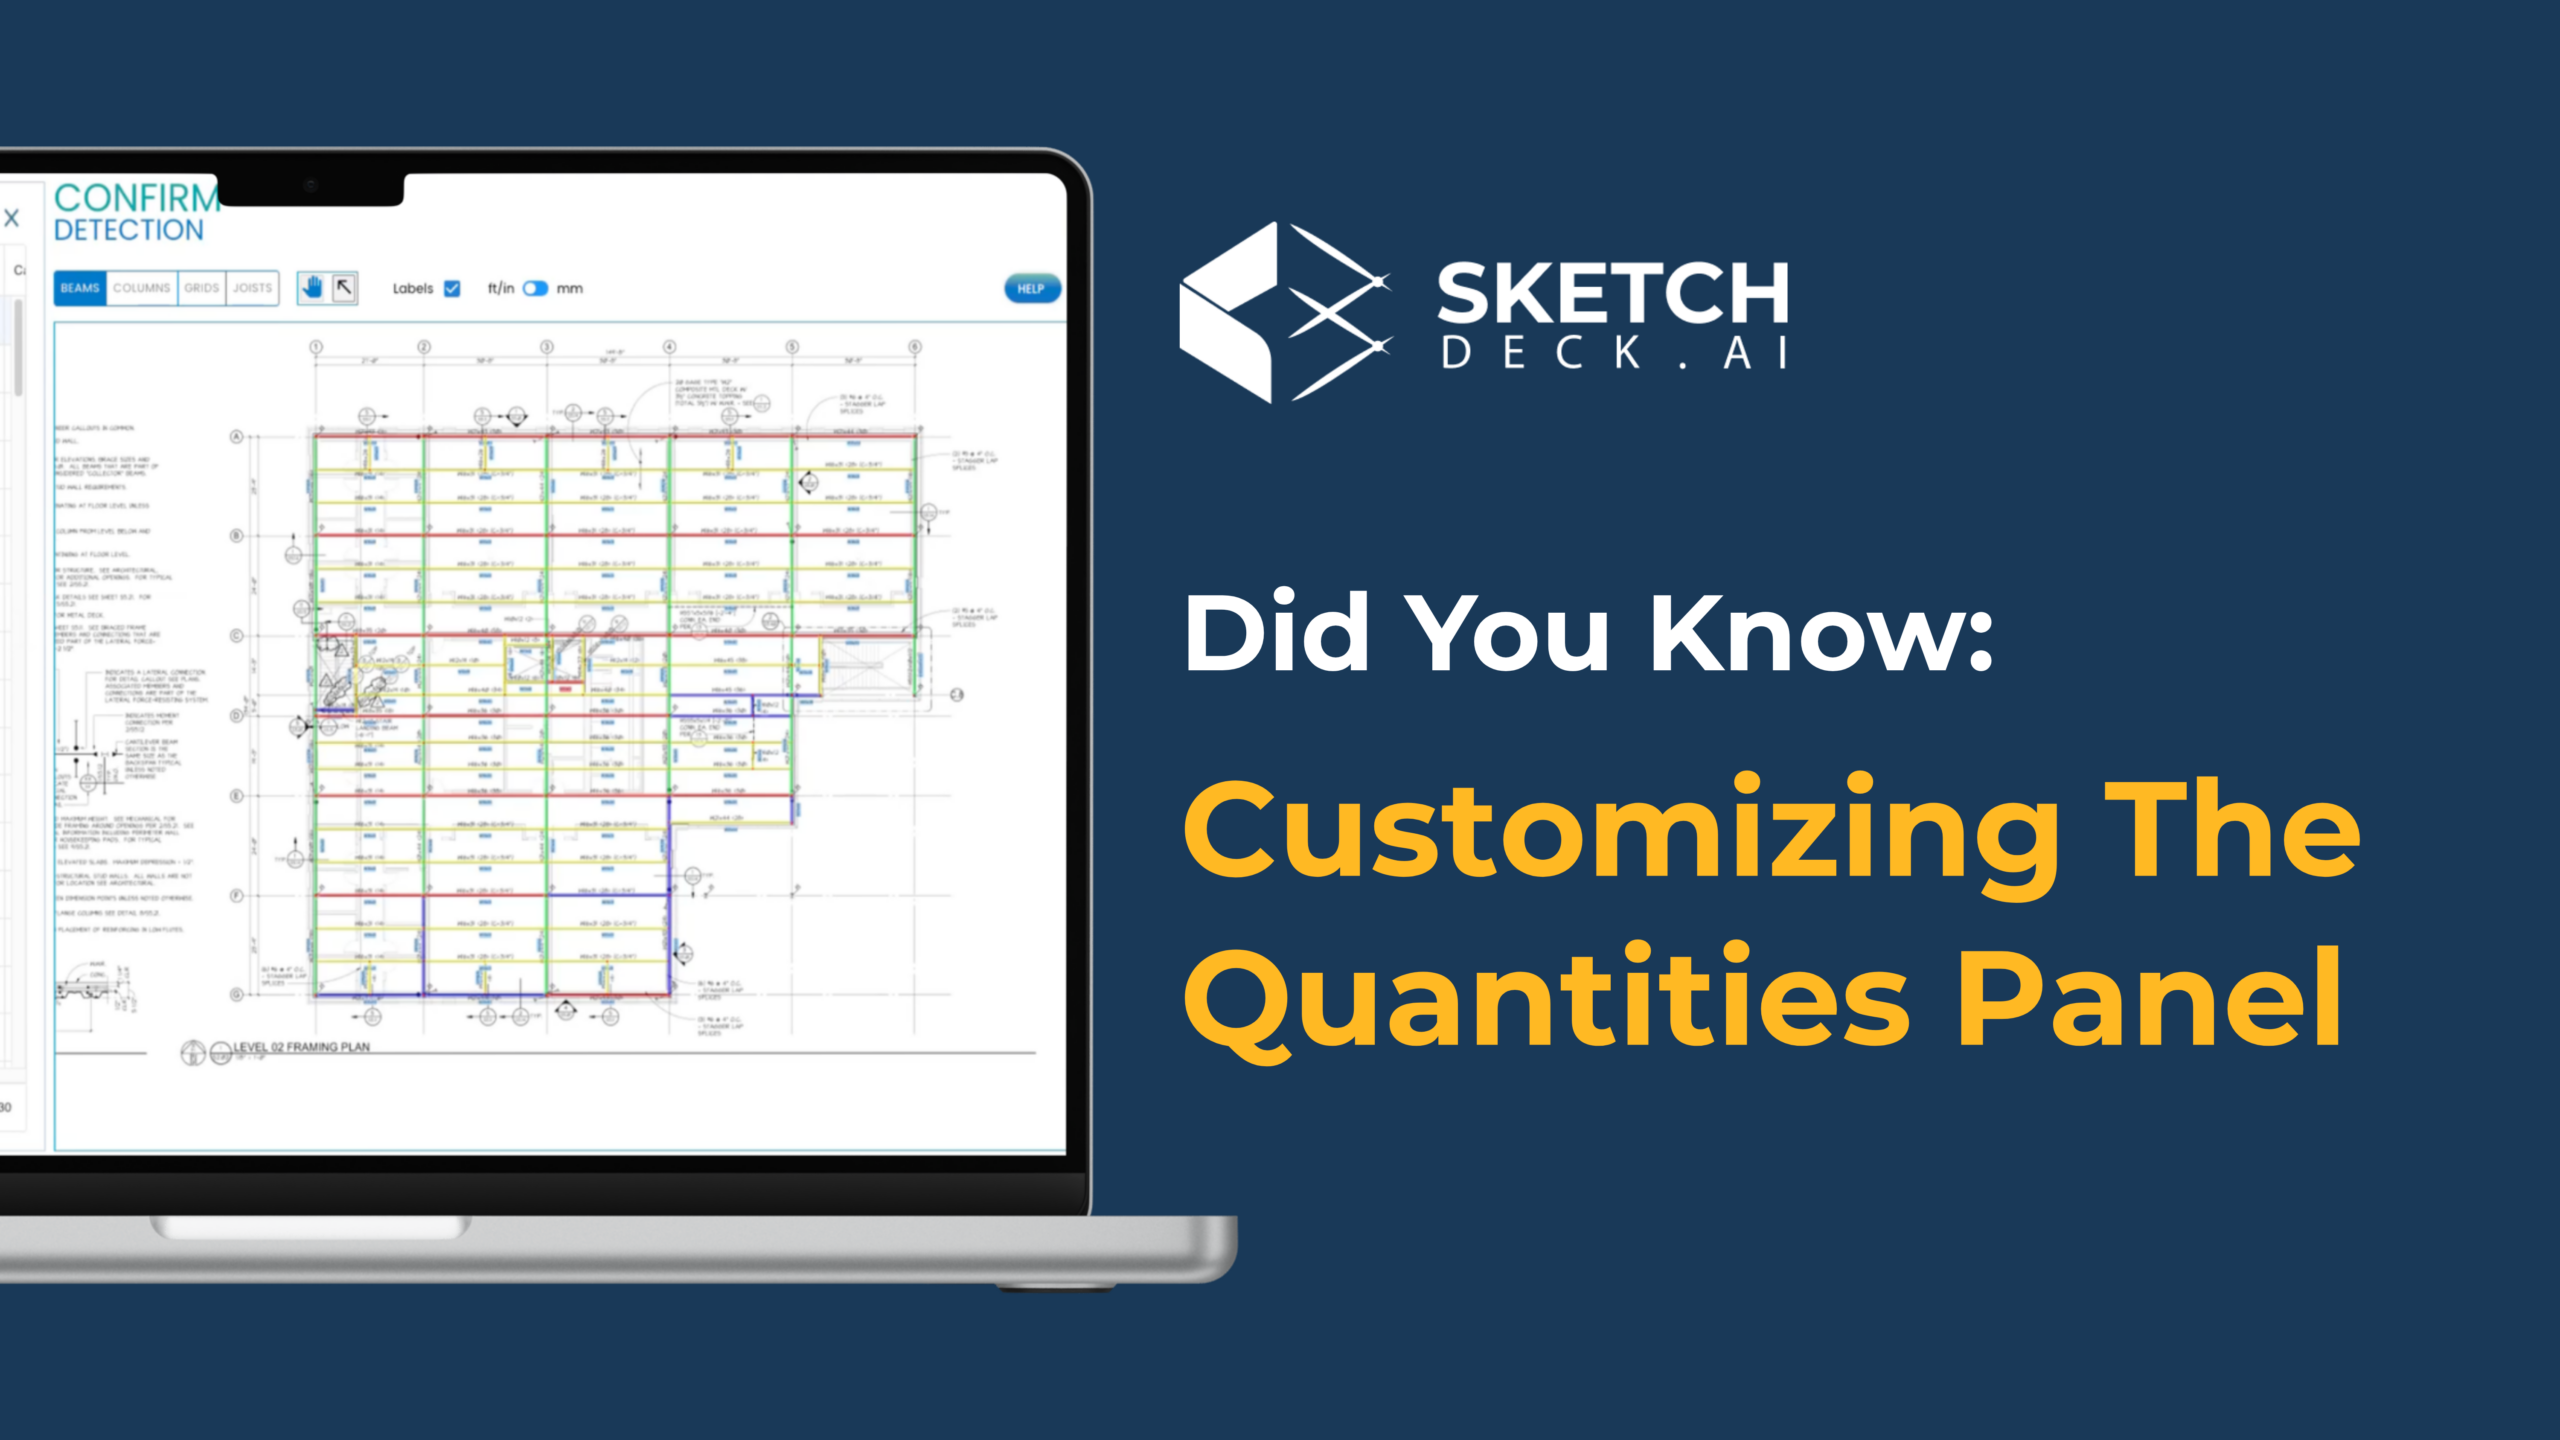
The Quantities Panel is where all your member data lives during a takeoff. By default, it shows the fields SketchDeck (formerly LIFT) populates automatically: label, shape, size, length, studs, camber. But you can customize it to include any additional fields your team needs, set default values, add dropdown menus, and apply automations that fill in data for you.
This guide walks through each customization option so you can set up a panel that matches your existing estimating process.

Adding custom fields and headers
To add a new field, open the Quantities Panel settings and create a new column. You can name it anything that fits your workflow: finish type, man-hours, crane assignment, building area, cost code, or any other attribute your team tracks.
You can also add custom headers to group related columns together. This keeps your panel organized the same way your team already thinks about the data, so there is no need to restructure your process around the tool.
Setting default values to skip repetitive entry
For any custom field, you can assign a default value that pre-populates across all members in the project. This is most useful for attributes where one value applies to the majority of your members.
For example, if most of your members are unpainted, set “Unpainted” as the default for your Finish field. SketchDeck fills it in automatically, and you only update the exceptions. On a 200-member project, that saves a lot of clicks.
Building dropdown menus for consistent data
Instead of free-typing values into a field, you can create a dropdown menu with your predefined options. For a Finish field, your dropdown might include Painted, Galvanized, and Unpainted.
Dropdowns keep your data consistent across estimators and eliminate typos or naming variations that cause problems downstream when you export to Tekla, FabTrol, or Excel.
Both the dropdown options and the default value are editable at any time, so you can adjust them as your process evolves.
Applying automations to fill data automatically
This is where the panel saves the most time. SketchDeck supports both off-the-shelf and custom automations that populate fields based on rules tied to member attributes.
Off-the-shelf automations you can enable right away:
- Grade by shape. SketchDeck assigns the correct grade based on the member shape. Wide flanges get A992, channels get A36, HSS gets A500. Change the shape, and the grade updates automatically.
- Weight reporting. Automatically calculates and populates member weight based on shape, size, and length.
- Surface area. Reports surface area per member for coating or painting estimates.
Custom automations your Customer Success rep can configure for your shop:
- Man-hours per piece. Calculates automatically based on member size, length, weight, or other attributes you specify.
- Length-based categorization. Tags members as Short, Medium, or Long (or whatever categories your team uses) for production planning.
- Custom labor codes or production rules. Maps to your internal standards so the data is ready for detailing or fabrication workflows before you export.
Using the pop-out view on a second monitor
Click the pop-out button in the Quantities Panel to open it in a separate window. This lets you view the panel on one monitor and the takeoff on another, which is especially helpful on large, multi-page projects where you need to reference your data while navigating drawings.
Watch the full walkthrough
This 3-minute video covers every step above, with a live demo inside SketchDeck.
Questions about setting up your panel? Reach out to your Customer Success rep or reply to this post. We are happy to help configure it to match your process.
New to SketchDeck? Book a demo and we will run a takeoff on one of your past projects.